
Making fresh ravioli at home sounds wonderfully Italian. A little flour, a few eggs, some delicious ingredients and perhaps a glass of wine while you work.
In reality, there's flour on the worktop, flour on your clothes and a growing suspicion that you might have underestimated the whole operation.
But here's the good news: homemade ravioli is surprisingly manageable. And when you fill those little pasta parcels with ricotta, pear, walnuts and cheese, then finish them in a buttery thyme sauce, the effort is absolutely worth it.
Ours turned out delicious. The kitchen, meanwhile, needed a little attention.
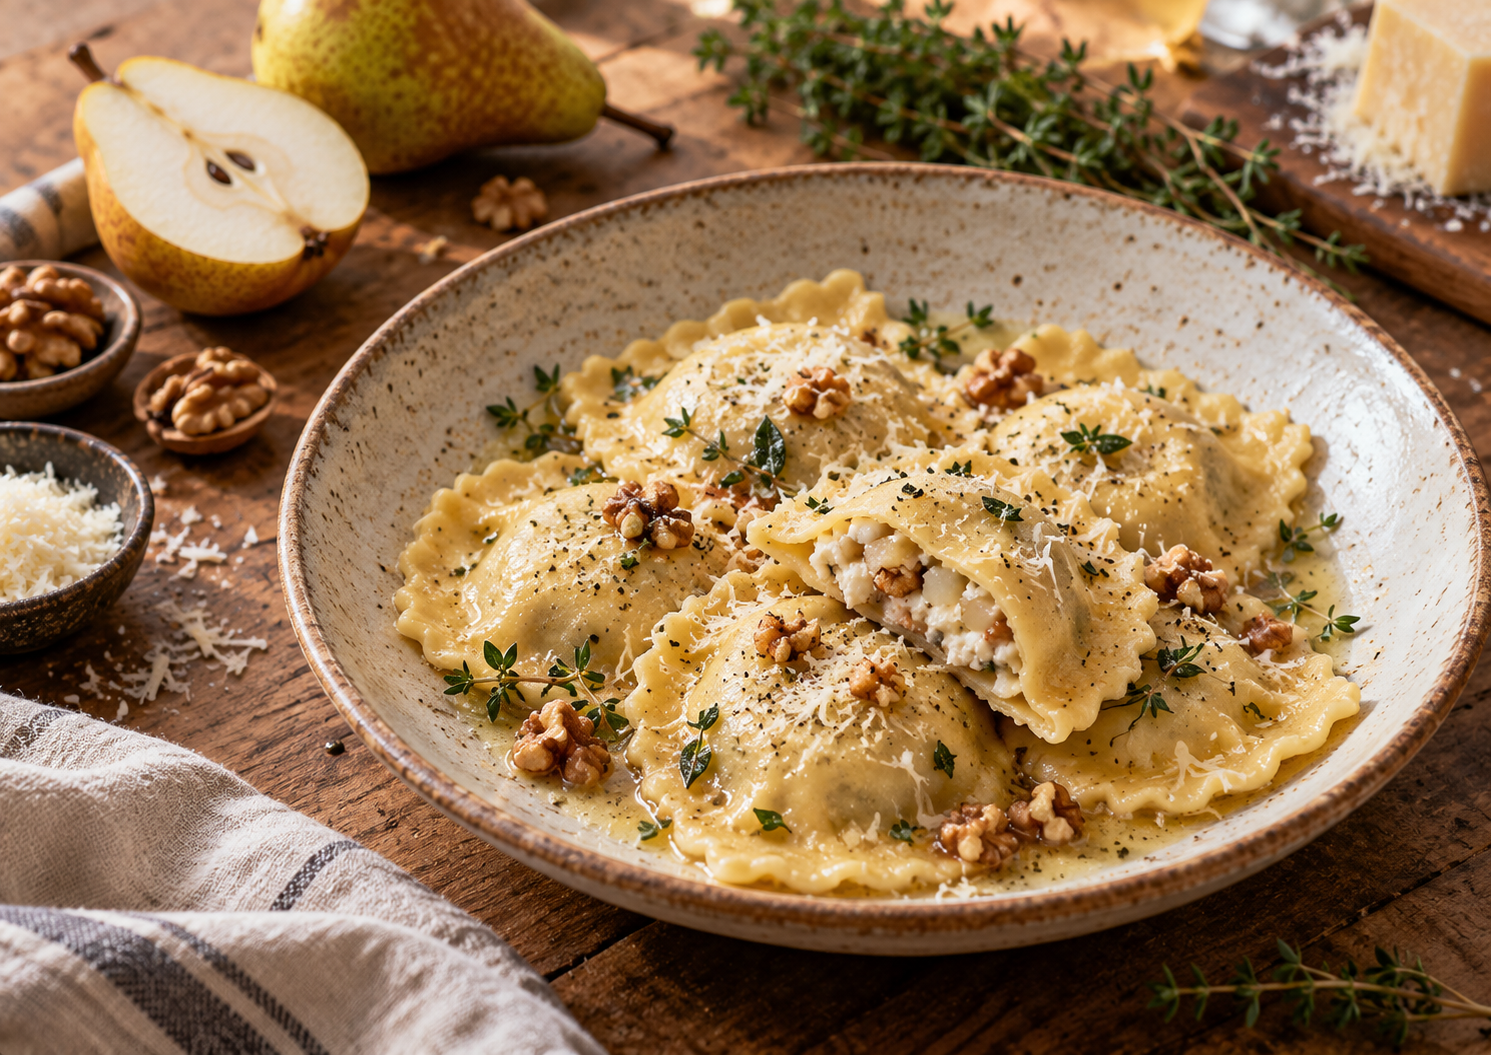
Finished pear, walnut and ricotta ravioli in butter and thyme sauce
A little Tuscany, with help from an Irish supermarket
One of the things we love about Italian cooking is how a handful of good ingredients can turn into something rather special.
This ravioli filling is a lovely example. Creamy ricotta, sweet pear, crunchy walnuts and a generous helping of mature cheese. Nothing particularly complicated, but together they create something far more interesting than the individual ingredients suggest.
Our original inspiration was a Tuscan-style filling with Pecorino, the wonderfully savoury sheep's milk cheese.
Unfortunately, the supermarket had other ideas.
No Pecorino.
After a little investigation, we decided to use Manchego instead. It's a Spanish sheep's milk cheese rather than an Italian one, but its rich, slightly nutty flavour makes it a very good alternative.
So our Tuscan ravioli developed a small Spanish accent.
We don't think anyone at the dinner table would object.
The recipe: Pear, Walnut and Ricotta Ravioli
This makes approximately 4 servings, depending on your appetite and how generously you fill the ravioli.
Preparation: About 60–75 minutes, including resting the dough
Cooking: 3–4 minutes for the fresh ravioli
What you'll need
For the pasta dough
300g tipo 00 flour
3 medium eggs
A little extra flour for dusting
For the filling
180g ricotta, well drained
100–120g finely grated Manchego (or Pecorino for the original Italian version)
1 firm, ripe pear, peeled and finely diced
40g walnuts, lightly toasted and finely chopped
Freshly ground black pepper
A little salt, if needed
For the butter and thyme sauce
100g unsalted butter
5–6 sprigs of fresh thyme
3–4 tablespoons of reserved pasta cooking water
Freshly ground black pepper
Step 1 — Make the pasta dough
Put the flour on a clean work surface and make a well in the centre.
Crack the eggs into the well and gently beat them with a fork, gradually incorporating the flour from the sides.
Once the mixture starts coming together, use your hands to form a dough.
Knead for approximately 10 minutes until smooth and elastic. It might look a little rough at first, but keep going.
Wrap the dough and leave it to rest at room temperature for 30–45 minutes.
You now have a perfectly respectable excuse to put the kettle on.
Step 2 — Prepare the filling
While the dough rests, combine the drained ricotta and grated cheese in a bowl.
Finely dice the pear and gently remove any excess moisture. Add it to the cheese mixture along with the chopped, toasted walnuts.
Season with freshly ground black pepper and taste before adding salt. Manchego and Pecorino both bring plenty of saltiness themselves.
The filling should be creamy but fairly firm. Too much moisture can make the ravioli difficult to seal.
And while pear might sound slightly unusual in a savoury pasta dish, don't worry. The cheese balances its sweetness beautifully, while the walnuts bring a little texture.
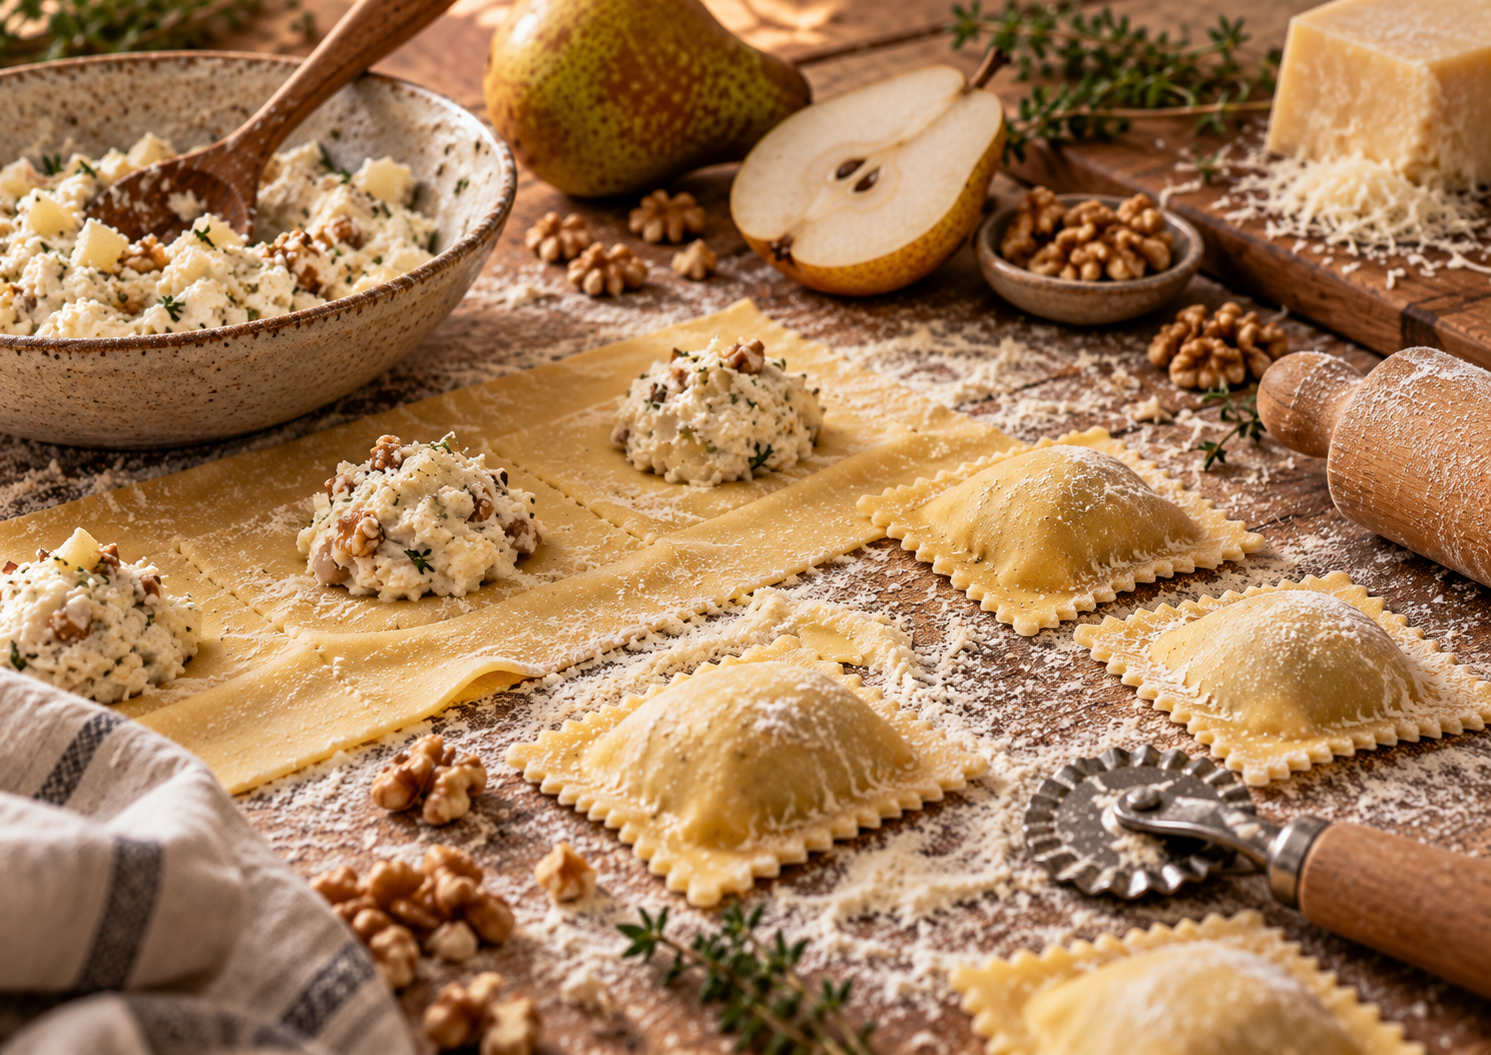
Fresh pasta sheets with small mounds of filling and sealed ravioli.
Step 3 — Roll, fill and seal
Divide the pasta dough into manageable pieces and roll each one into a thin sheet, roughly 1mm thick.
A pasta machine is helpful here, although a rolling pin and a little determination will also do the job.
Place small teaspoons of filling along one sheet, leaving enough space between them to seal and cut each ravioli.
Lightly moisten the dough around the filling with water, cover with another pasta sheet and gently press around each mound to push out trapped air.
Cut into squares or your preferred shape, making sure the edges are properly sealed.
Place the finished ravioli on a lightly floured tray in a single layer while you prepare the rest.
They don't have to look identical.
In fact, that's one of the pleasures of making them yourself. Every ravioli has its own personality. Some are just slightly more enthusiastic about their filling than others.
Step 4 — The butter and thyme sauce
This is where we recommend keeping things simple.
With ricotta, pear, walnuts and cheese already inside the pasta, there's no need for a complicated sauce competing for attention.
Gently melt the butter in a large frying pan over medium-low heat. Add the leaves from 3 thyme sprigs and the remaining sprigs whole and allow it to infuse the butter for a few minutes, without letting the butter brown. Remove the whole sprigs before adding the pasta water.
Meanwhile, bring a large pan of salted water to a gentle boil.
Cook the fresh ravioli for approximately 3–4 minutes, depending on the thickness of the pasta.
Before draining, reserve a little of the cooking water.
Add 3–4 tablespoons of that starchy water to the butter, stirring or swirling the pan to bring the two together into a light, glossy sauce.
Transfer the cooked ravioli carefully into the pan and gently coat them for about 30–60 seconds.
Finish with a little black pepper and serve immediately.
The result is a buttery sauce that lightly coats the pasta rather than drowning it.
Which is exactly what this filling deserves.
A few things worth knowing before you start
There's no need to turn homemade ravioli into an all-day project, but a few small details make life easier.
Keep the filling relatively dry. Ricotta and pear both contain moisture. Draining the ricotta and removing excess juice from the pear helps prevent soggy pasta.
Don't overfill. It's tempting to squeeze in an extra spoonful, but the ravioli still need enough space to close properly.
Remove trapped air. Press gently around the filling before cutting. Air pockets can cause ravioli to burst during cooking.
Make them ahead if necessary. If you're preparing the ravioli several hours before dinner, freezing them individually on a floured tray is generally the safer option. Once frozen, transfer them to a suitable container and cook directly from frozen, allowing approximately 4–6 minutes depending on their size.
And one final tip: save some pasta water before draining.
That little splash of starchy water helps transform melted butter into a proper sauce. It takes only a moment, but makes a noticeable difference.
The best part comes at the table
There's something particularly satisfying about sitting down to a plate of pasta you've made yourself.
Perhaps it's because you've spent time rolling the dough, arranging the filling and carefully sealing each little parcel.
Or perhaps it's simply because homemade pasta tastes wonderful.
In our case, the combination of creamy ricotta, sweet pear, walnuts and the slightly nutty Manchego worked beautifully. The butter and thyme sauce brought everything together without overpowering the filling.
Would we make it again?
Absolutely.
Would we make a slightly bigger batch next time?
Quite possibly.
And would we remember to keep the flour away from absolutely everything else in the kitchen?
We can make no promises.
But that's part of the pleasure of cooking Italian food at home. It doesn't need to be perfect, and you certainly don't need to be a professional chef.
Sometimes all you need is a little patience, a few good ingredients and a willingness to make a bit of a mess.
Especially when the reward is homemade ravioli.
Worth the flour everywhere.
STAY AT THE TABLE
Join our Italian table for recipes, wine discoveries and travel inspiration from Italy and Ireland.
Follow CasaDelVino